Napkin Tutorial
Ok, so for all of you beginner sewers out there... I have a fun and EASY project for you just in time for Thanksgiving! Seriously, you can whip this project out in an hour if you already have fabric lying around your house. :) This is a great first project because it's pretty much just sewing in a straight line AND this is a perfect to figure out your new machine and play with different stitches, speeds, and what not. Plus... whenever you put homemade in front of anything, it is sure to impress! Why not have homemade napkins out to use at your yummy Thanksgiving meal?
First things first, you must know that I am not one of those people who follow instructions or recipes exactly. When it comes to measuring things... I definitely eye ball it. I realized halfway through making these that I should have written down exact measurements for you crazy perfectionist people, but if there is any consolation... I didn't measure at all exactly, and mine turned out all right! ;) So all of these measurements are estimations, feel free to use your personal discretion.
Step One: Cut the fabulous fabric you picked out into approximately an 18ish x 18ish inch square. What I did: I took a napkin I purchased, measured it and then added an inch to each side for seam allowance.
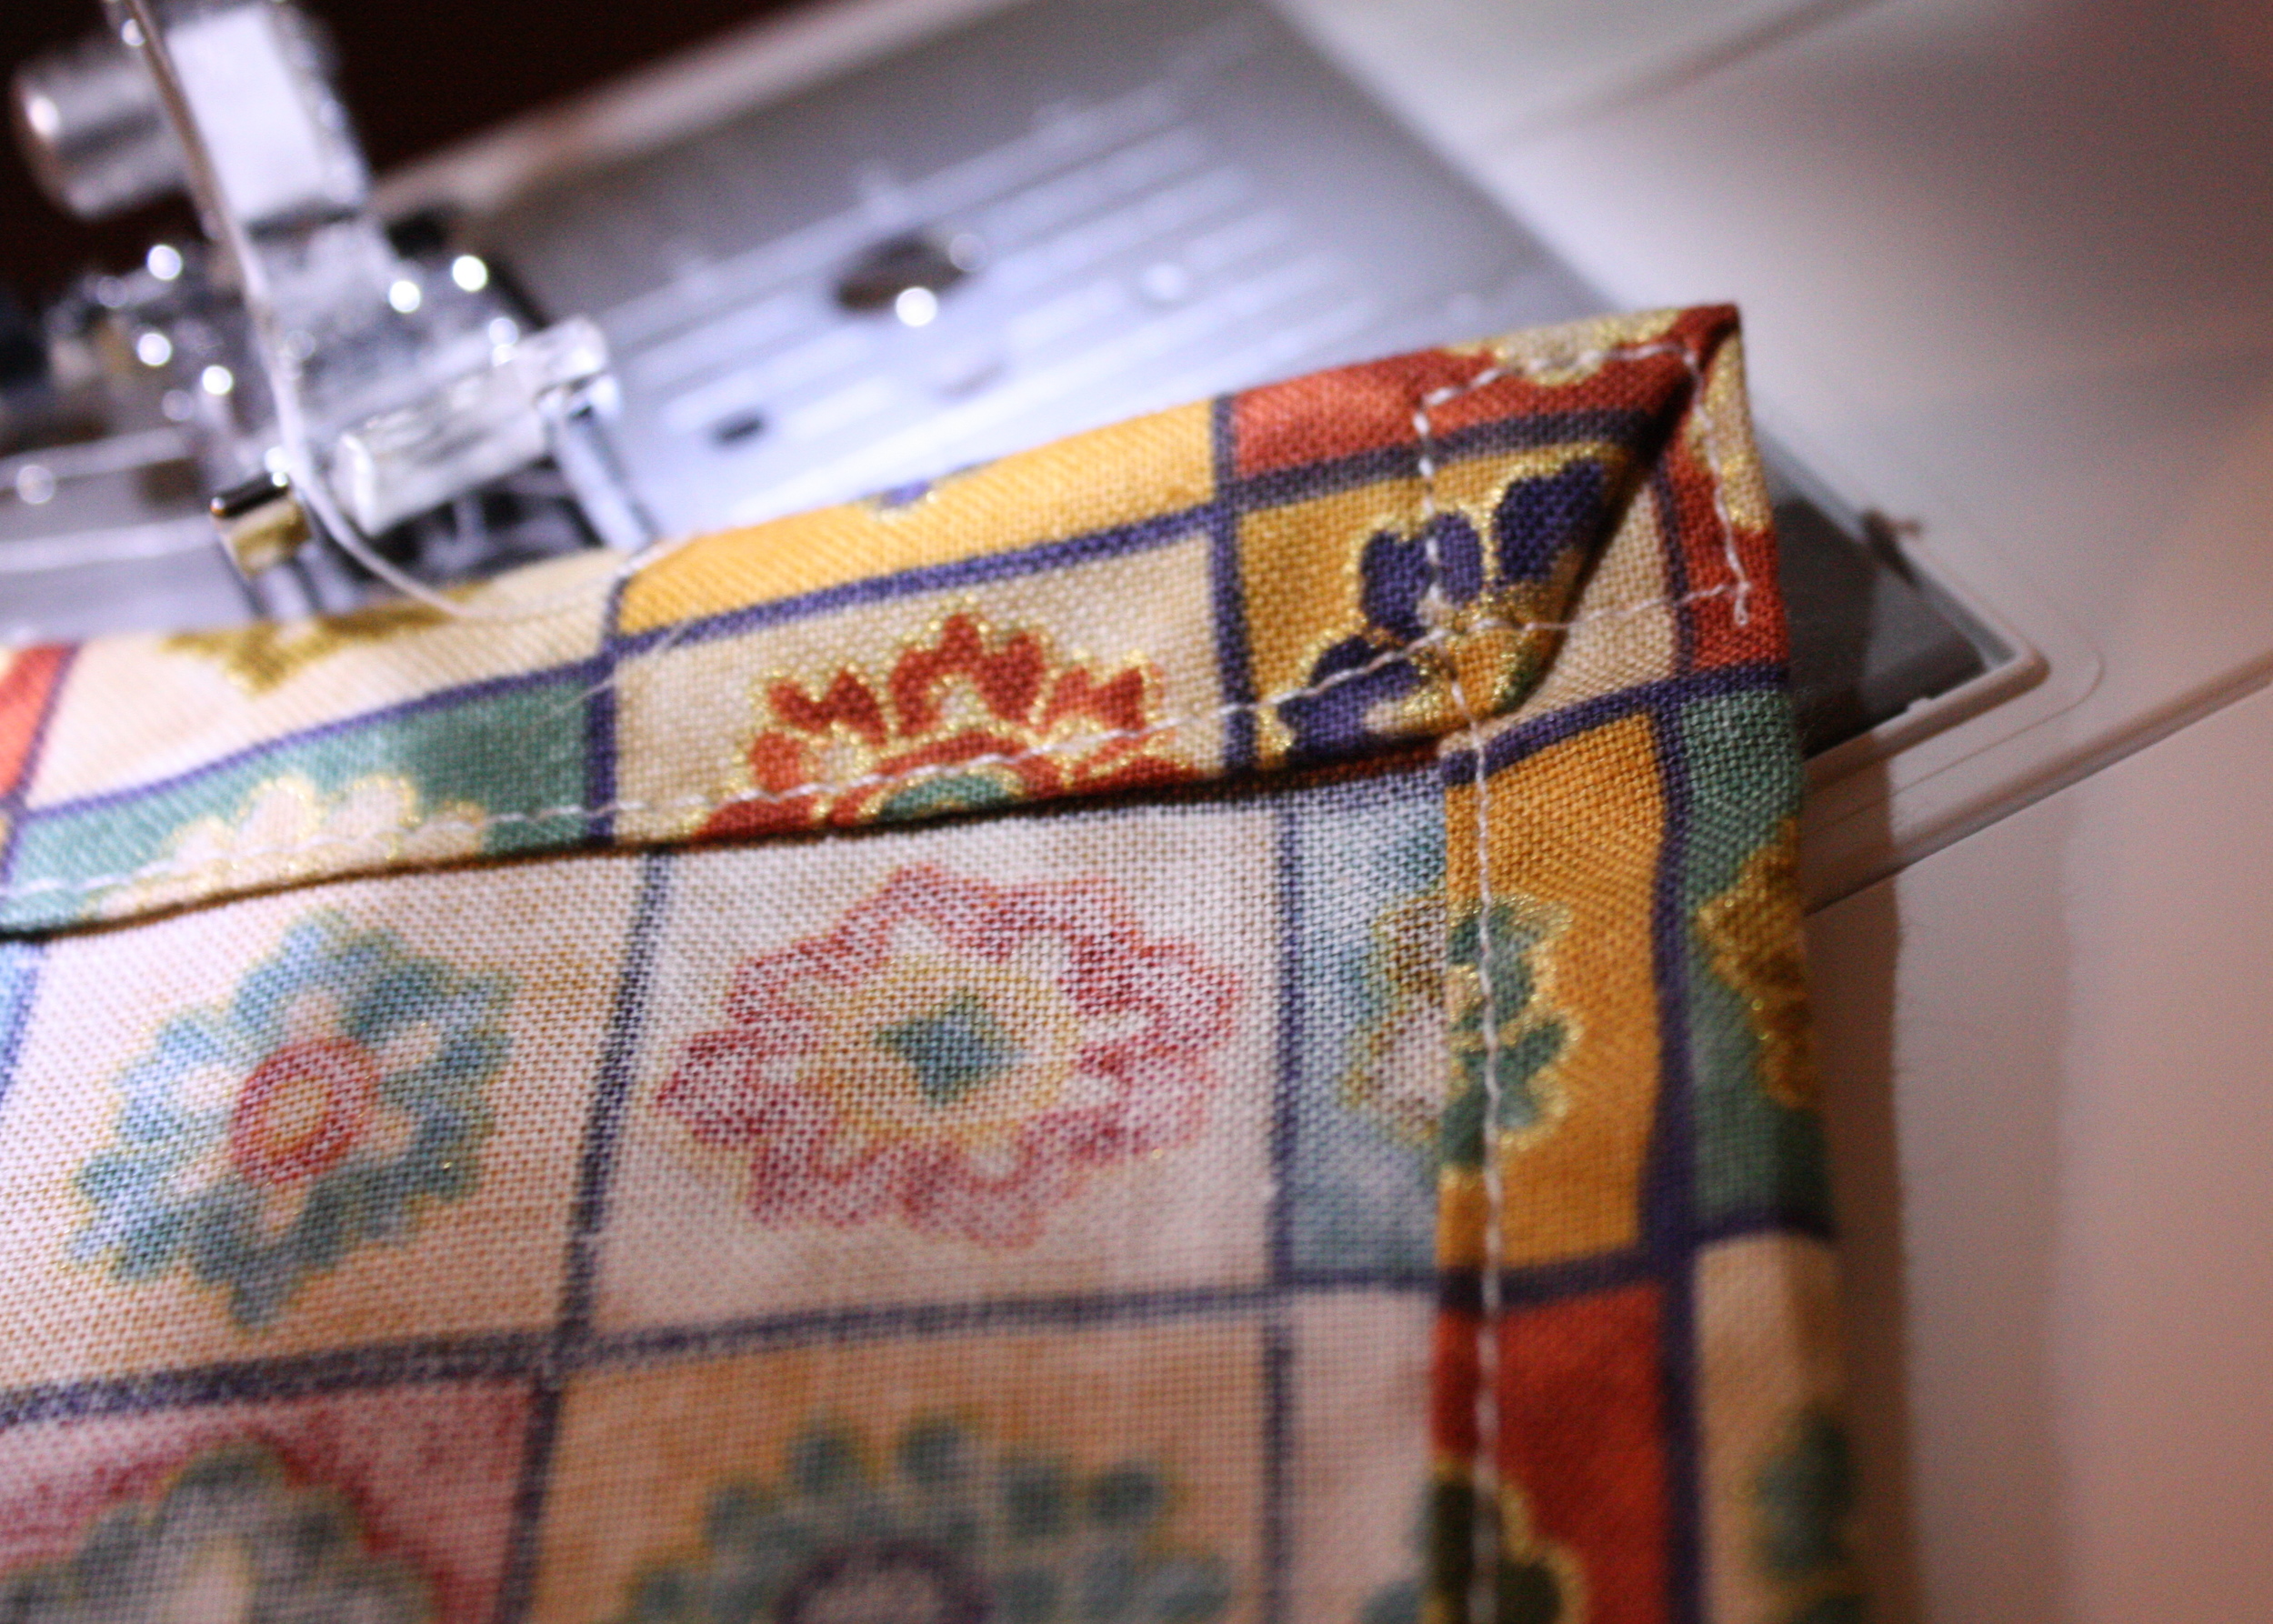
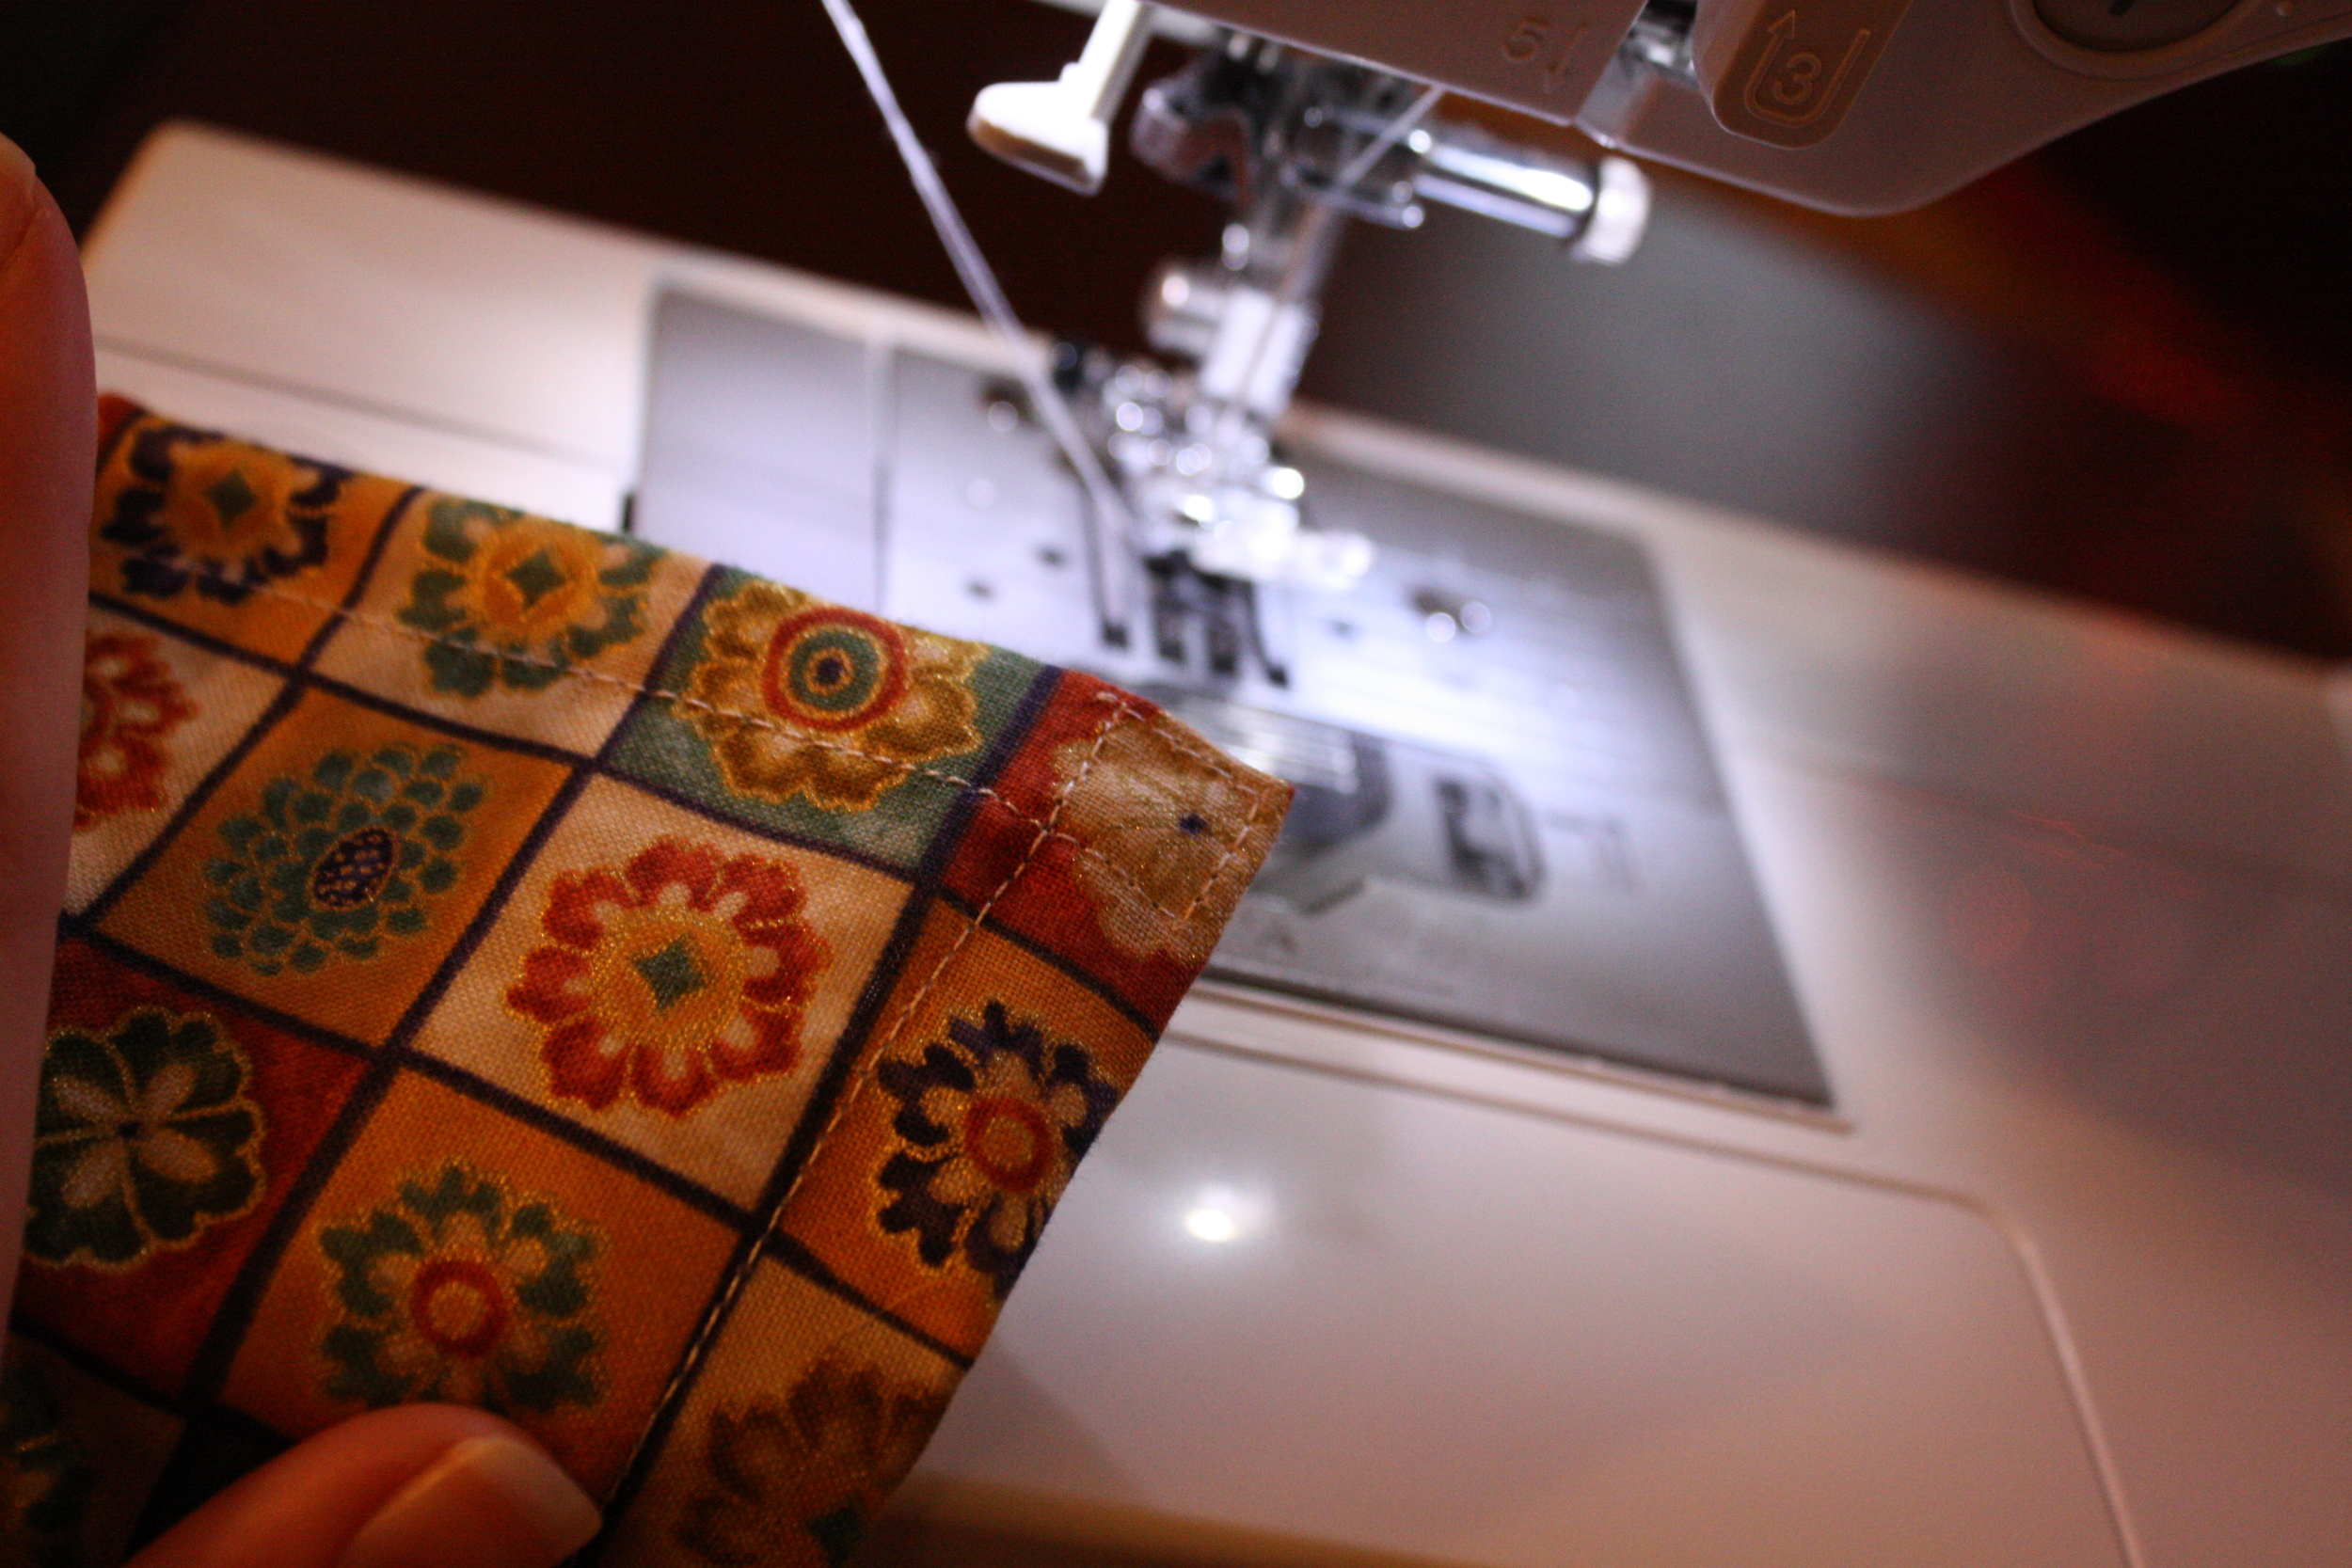
Step 2: Fold the end of the fabric in 1/4 an inch. Then fold it over again a 1/2 inch. The reason you fold it in twice is so that you have a finished look on the back instead of having the frayed ends showing. This pic is a few steps ahead, but it shows you about how wide the end should be folded and how it has a smooth edge, not a frayed edge.
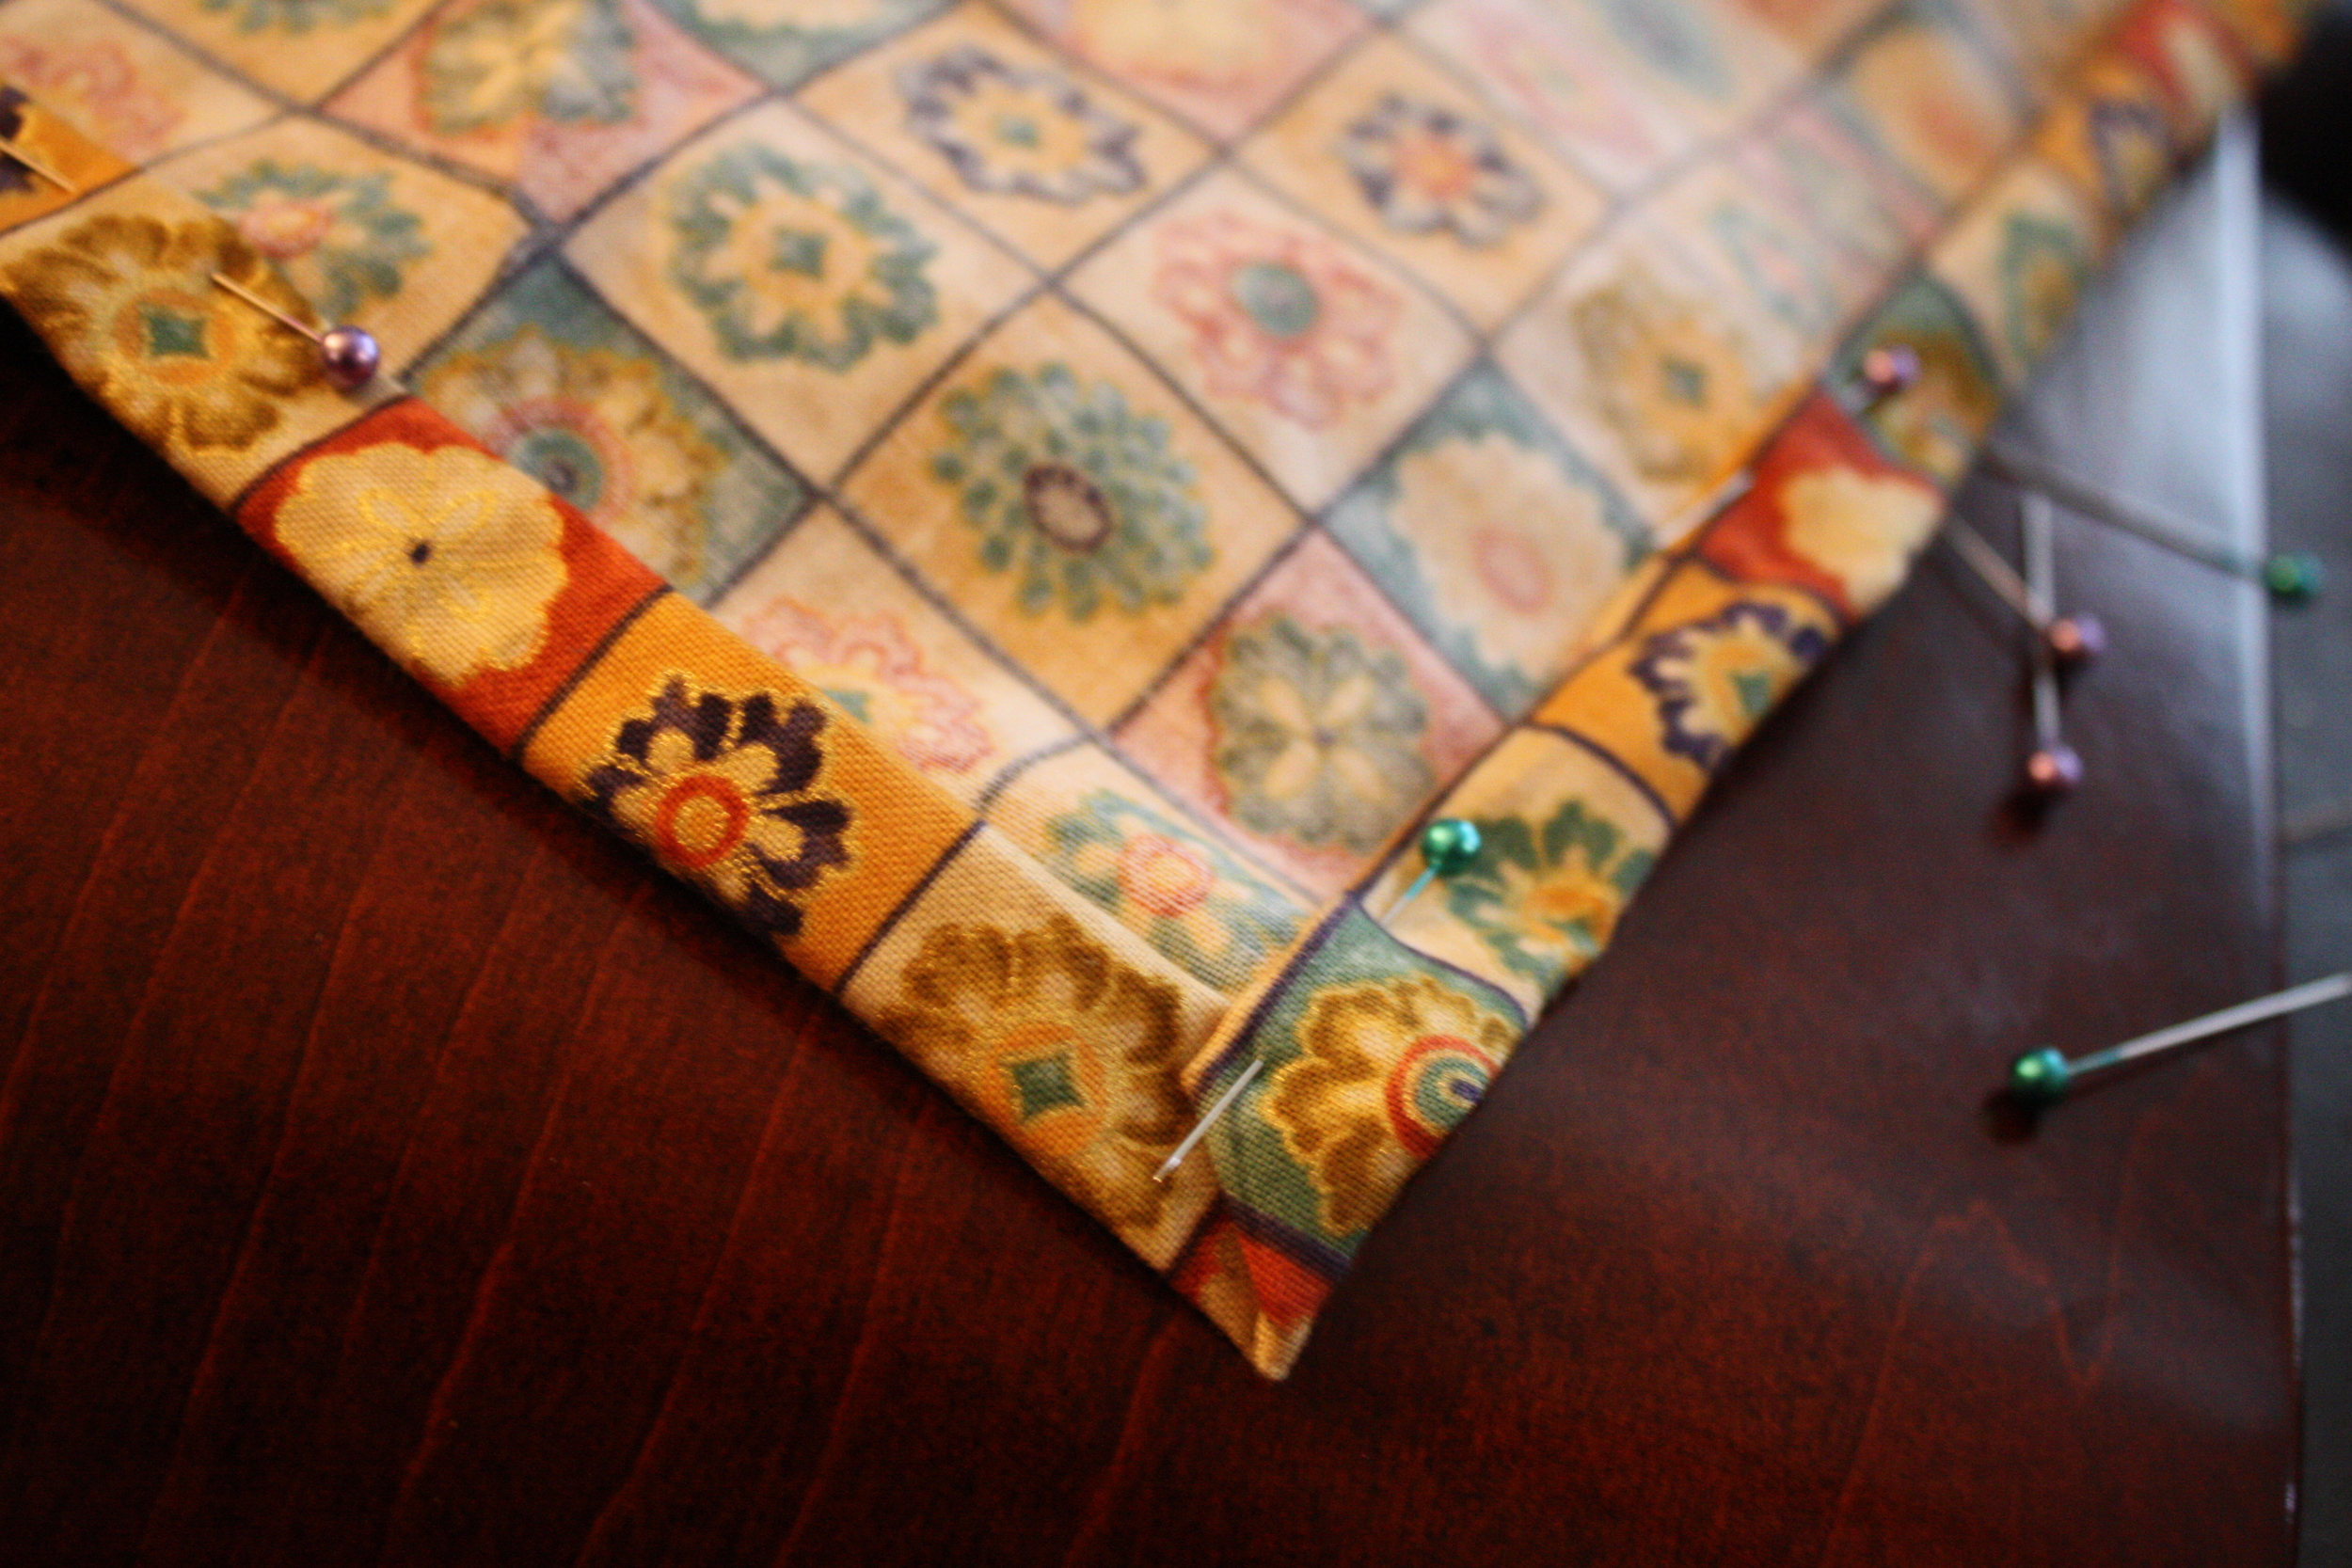
As you fold, pin the seam. The goal is to keep the napkin's "walls" as straight as possible, so flip it over every now and then to make sure you're making straight lines.
Step 3: Make the corners. This looks complicated (or at least I thought it was when I was trying to figure it out), but it is actually really easy.
Create a triangle with the end, by simply folding it in and pinning it.
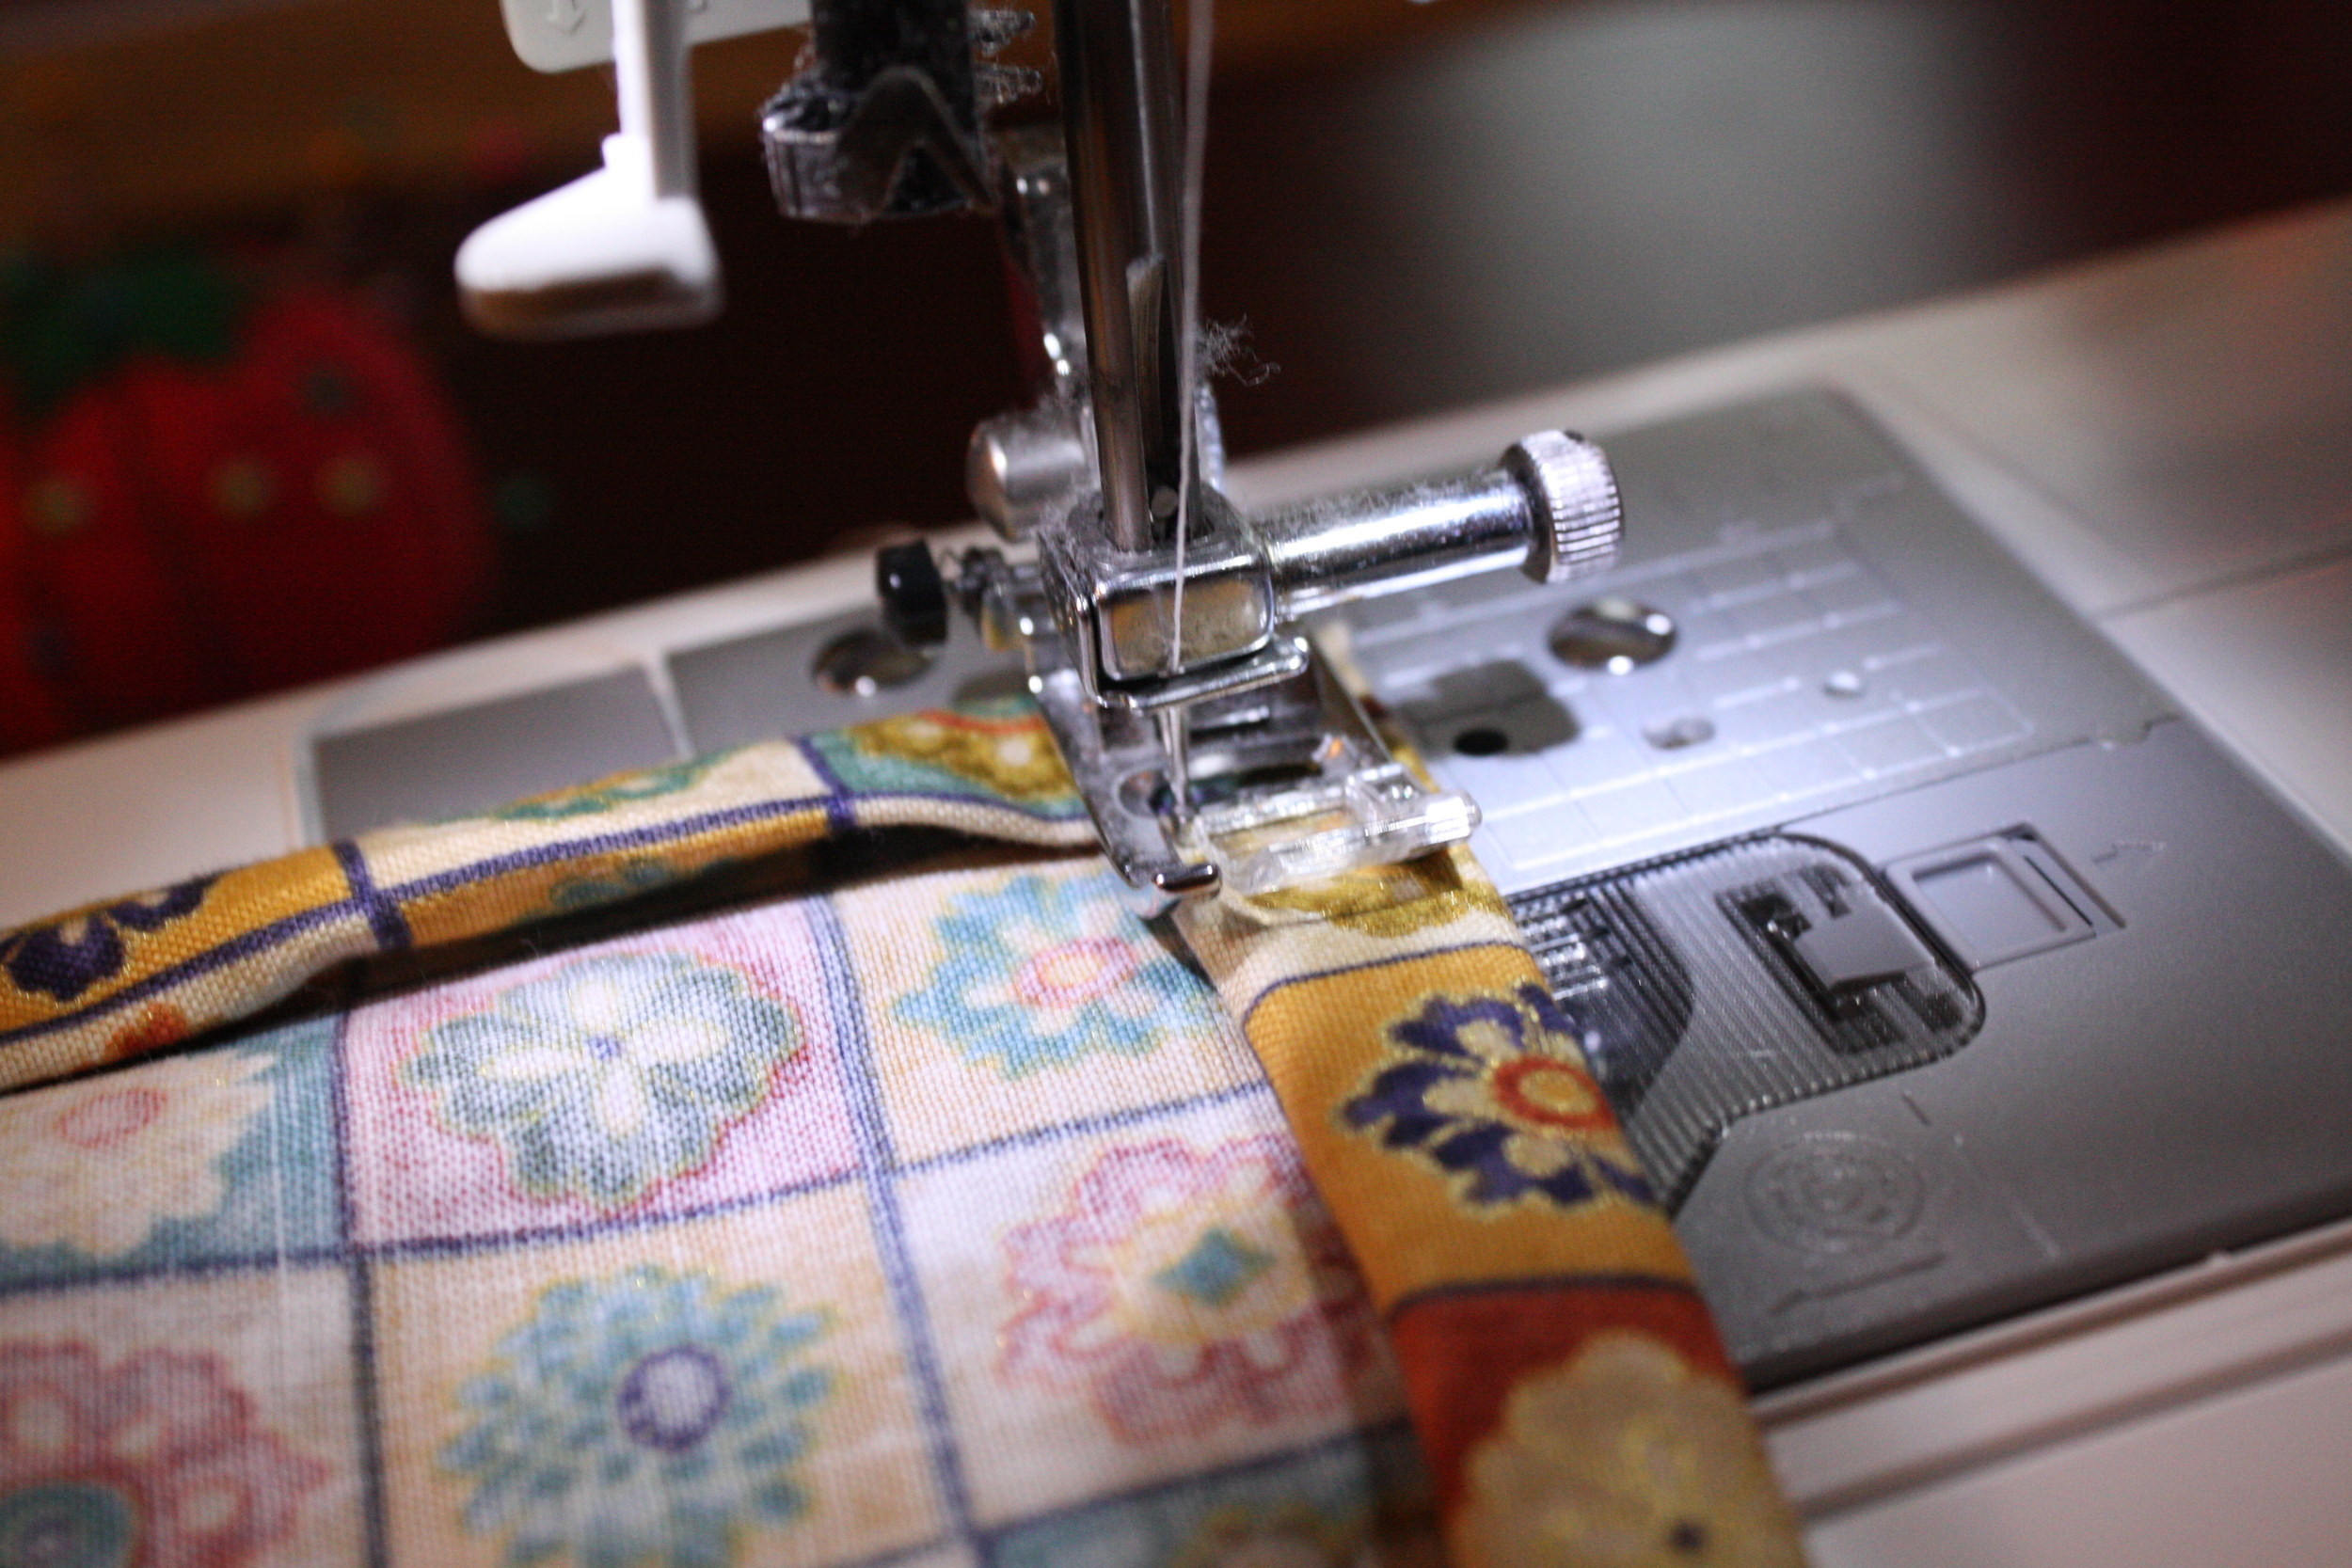
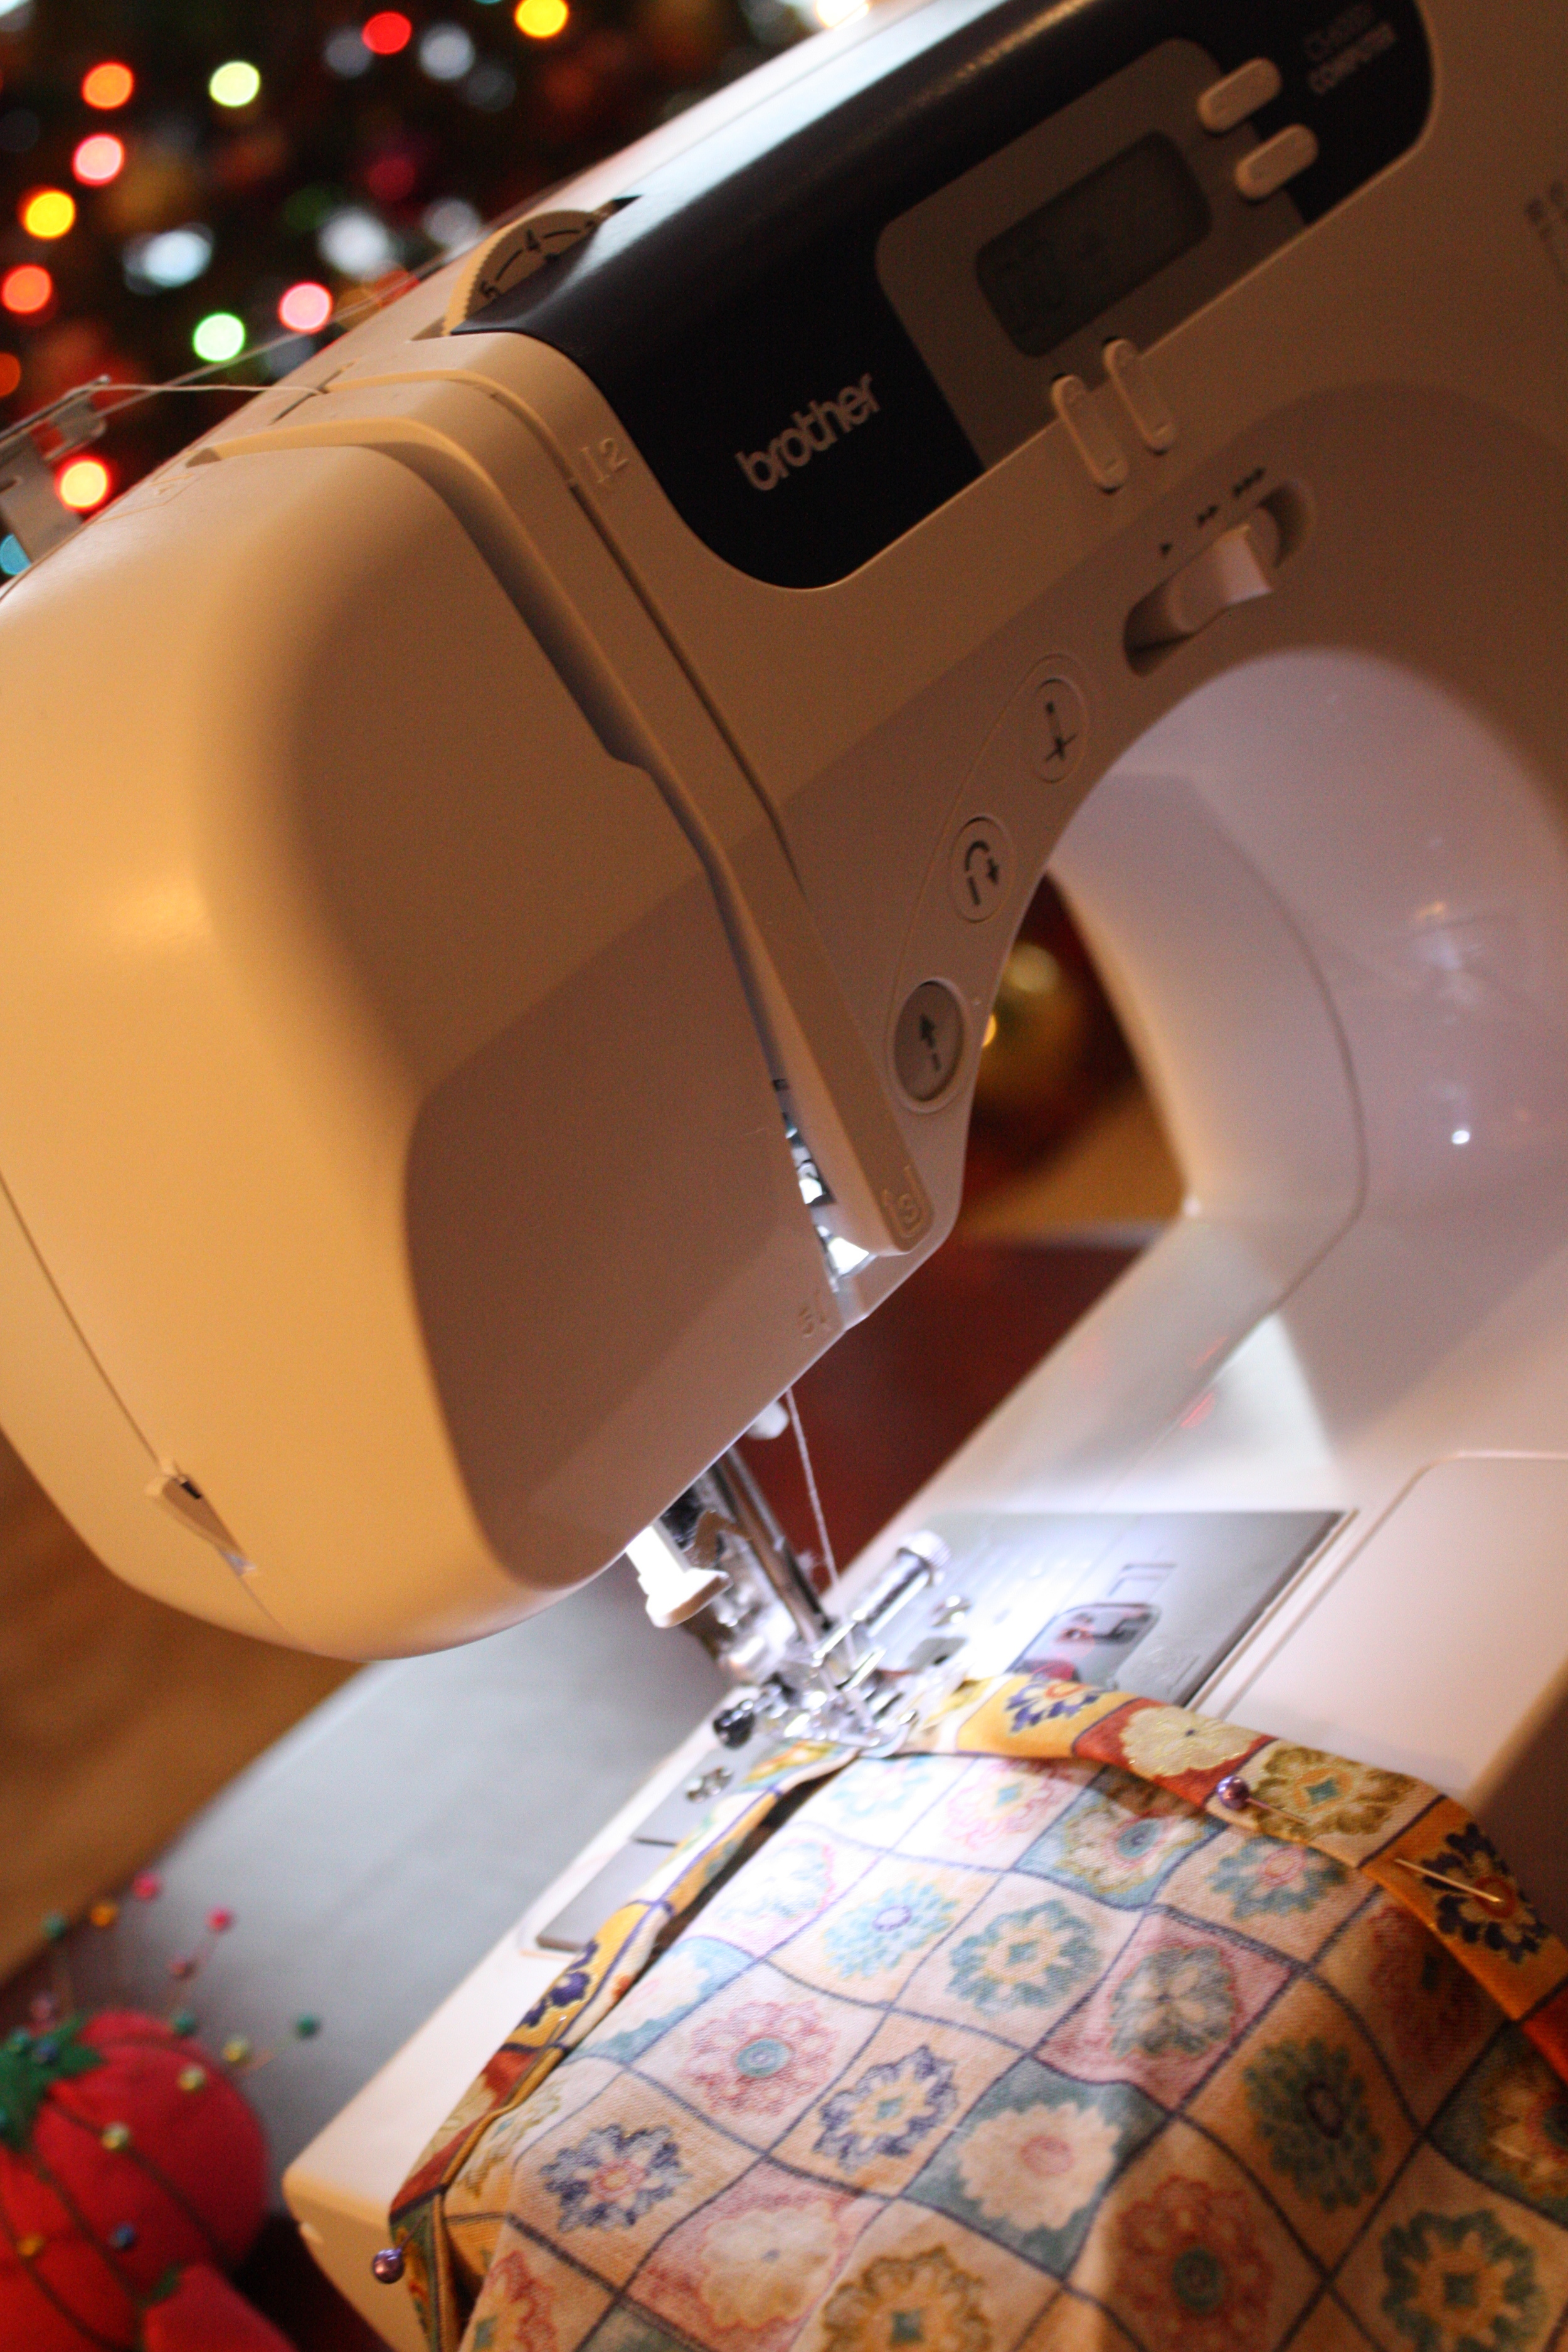
Step 4: Now you're ready to sew! Start at an end... and make a box.
Yes. That IS a Christmas tree in the background... don't judge me. And YES those are colored lights which will ALWAYS be the lights of choice for this Sassy Salmon. That debate I should save for a whole 'nother blog post... Ok sorry... moving on. But seriously... don't judge...
See the square? That's what you're going for...
My goal was to not lift the needle up at all throughout the seam. So where you'll start, you will also end... I hired a kindergartner to draw a fun little picture to show you what I'm talking about...
OK, fine... it wasn't a 5 year old... it was my own priceless work of art.
Step 5: So then you sew all the way around, making little squares at the corner. When you reach the point where you started, cross that thread and then go back and forth over it a couple of times to make sure it's not going anywhere.
Step 6: Look at your fancy homemade napkin that looks like you spent 25$ on a set at Anthropologie... but no... you spent $3 on fabric and made them yourself! Get it girl... just get it. Now you can set your holiday table... and yell "Martha Stewart eat your heart out!" Really... I may or may not have yelled that when I finished my first set of napkins. Sad, but true.
One of us was bought. One of us was not. If you were a guest... could you tell??? ;) I love a good mix and match... Seriously.
(Sorry... actually this picture/table setting is not Martha Stewart ready... i just threw the napkin beside some plates... but hey... you get the idea...)
Alright yall... that is it for now! If you end up making some napkins, be sure to link up and show me your final product! I'd LOVE to see them.
Hope everyone has a great Thanksgiving week!
Much Love,
